I hate using the PC connectors on my Flashgun because they often fall out. Also the little cables for the Skyport to a PC socket cost an arm and a leg. So I decided to modify some hot shoe adaptors I already owned. They cost less than the pocket wizard cables that you would need to connect up with, and its a more secure connection. Also I'd rather modify the shoe adaptor than the flashgun.
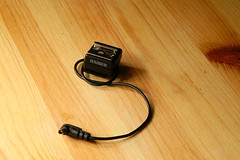 This little feller is quite useful, It has a PC connector on a cable and a tripod socket on the bottom. Its quite handy for mounting securely on brolly holders, but when I used it with my Elinchrom Skyports I used to leave the wire dangling free. Replacing the PC plug with as 3.5 mm phono jack would allow me to plug it straight into the skyport.
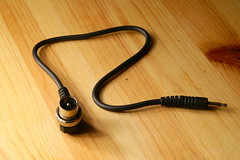 This funky but useless cable came with the skyport. Its useless for me, but the phono plug that goes into the skyport is useful so I'm having that.
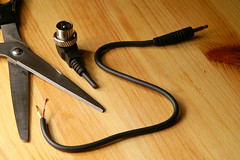 Take that useless cable, cut off the coax connector and keep that nice cable with the phono connector.
Flickr member Paul Chilly wrote in to say that you should cut the donor cable just above the strain relief, that way when complete, you can push the strain relief against the hot shoe, creating an even more professional result!
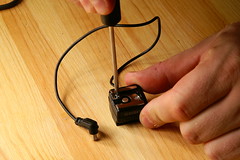 The Kaiser Hot Shoe thingy has 3 screws that you undo to take it apart. You need a teeny screwdriver. This picture shows you how to unscrew one screw, you work out how to do the other three.
If you are completely inept, you might want to put the screws into a jar so you don't lose them. I'm just saying...
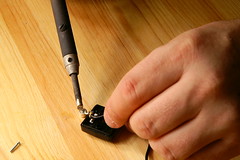 You are going to have to carefully remove the old wire. Its a good idea to pull out the central contact or you could melt the plastic. Just get your soldering iron nice and hot, Hold it over the places where the wires connect and gently pull apart.
This will take a little dexterity. Get an grown-up to help you.
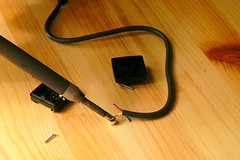 Ok so you have thrown away the old wire, now get the new one and solder it back in the position that the old ones was in. Don't stress about which wire goes where it doesn't really matter. Just make sure you get a good solder joint; that cable may have to take some strain.
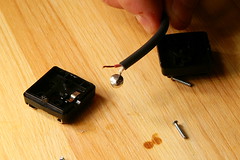 Ok so you've soldered the central contact onto the wire and burned a couple of circles in the table. Whoops!
Wait for it to cool down and fit it back in the plastic case. It will make it easier to solder the other wire.
Tell your partner the circles are knot holes...
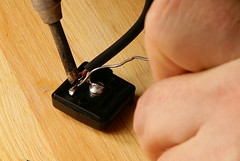 With one hand hold the solder, with the other hold the case and with your third hand hold the soldering iron. Fortunately I have 4 hands so I could use the camera as well, but you may want to get a consenting adult to help you.
Be very careful, with the second wire, you don't want to melt anything and you don't want any short circuits, but you do need a good strong joint.
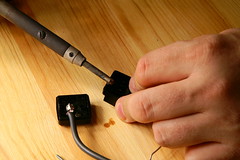 The cable might be too big for the hole, So carefuly melt it with the shaft of the soldering iron so that the hole gets bigger. No! not like that you idiot! I said the shaft, you don't want to get blobs of solder mixed in with the plastic.
You may find that melting the holes may make the case difficult to close, so you might need to scrape some of the excess plastic away from the inside edges with scissors or a sharp knife.
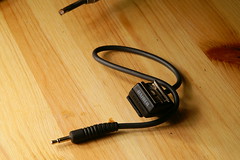 Now screw everything back together and you are done. One thing to watch out for is not to try and force the case closed as you could damage it. If you have difficulty closing it, then you should make sure that there are no protruding bits of plastic or insulation in the way.
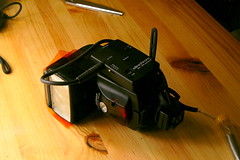 Here it is on the flashgun. The skyport is attached to the side with velcro, The foot of the flash now has that handy hole and it all connects nicely and very securely together. Its like a marriage made in heaven or in this case; North London.


Your a lifesaver
ReplyDelete